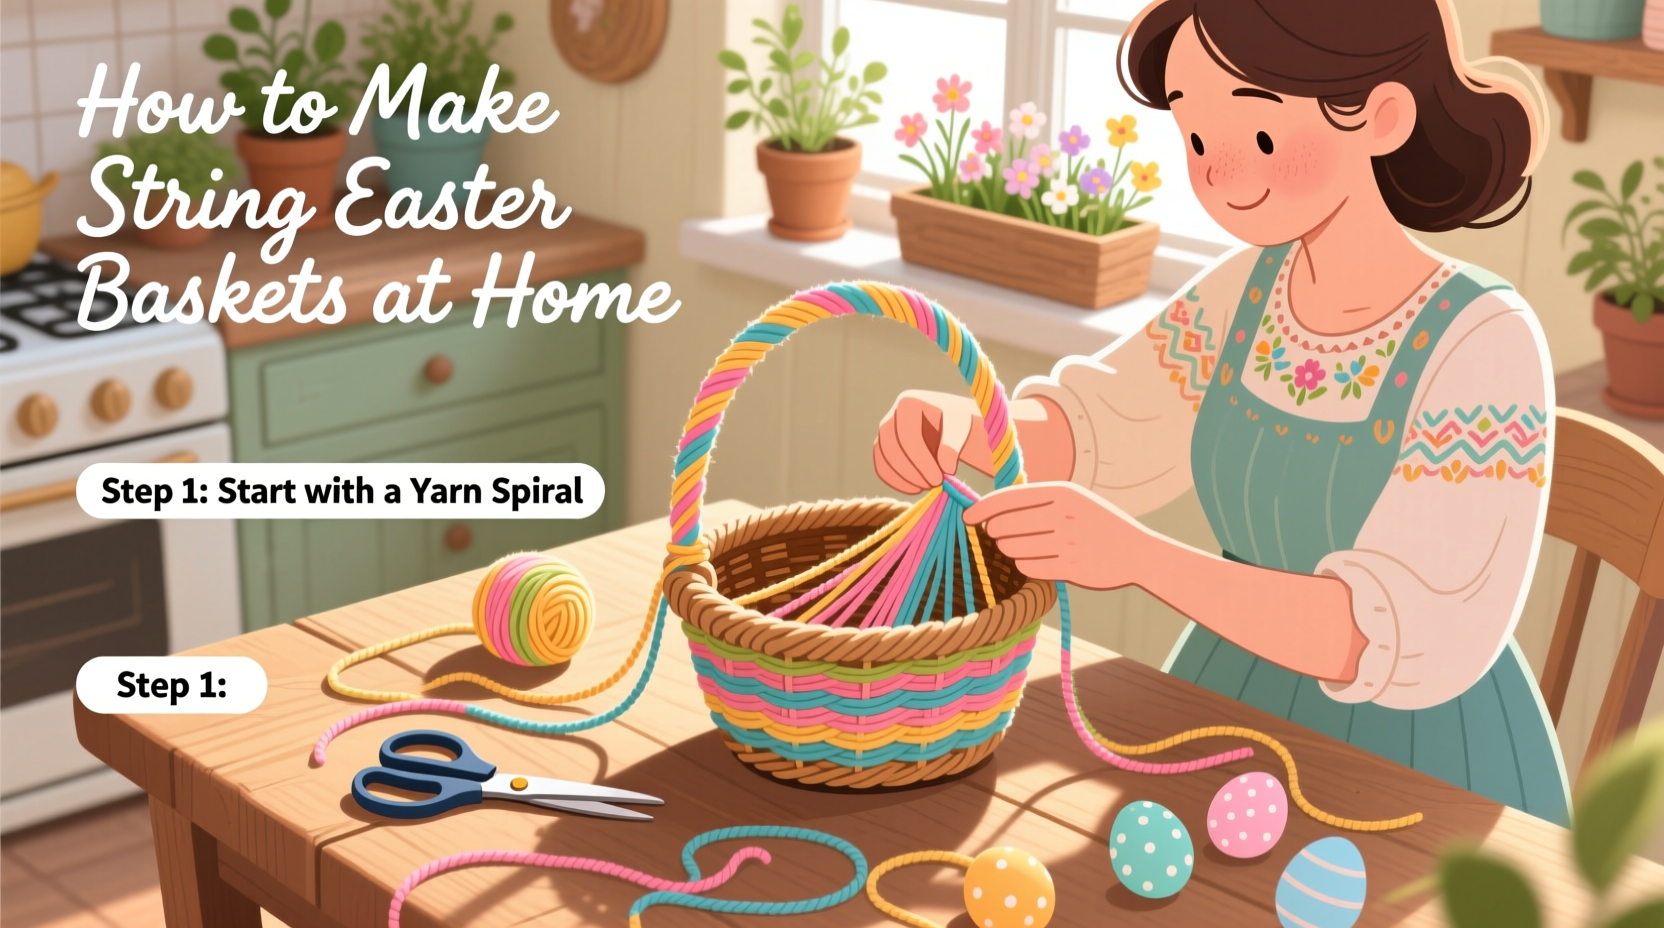
If you're looking for a fun, creative, and budget-friendly craft project this Easter season, learning how to make string Easter baskets is an excellent choice. These charming handmade baskets are not only perfect for holding Easter eggs and small treats but also serve as adorable decorations that capture the spirit of the holiday. Using simple materials like glue, yarn, balloons, and a bit of patience, you can create beautiful, lightweight baskets that both kids and adults will enjoy making and displaying. This hands-on activity is ideal for family crafting sessions, Sunday school projects, or springtime parties.
Why Making String Easter Baskets Is a Beloved Spring Tradition
Creating string Easter baskets has been a popular craft activity for generations, especially in households and schools across North America and parts of Europe. The tradition blends elements of creativity, fine motor skill development, and seasonal celebration. Unlike store-bought plastic baskets, handmade string baskets offer a personalized touch and reflect the care and effort put into their creation. They’re often used during Easter egg hunts, given as gifts, or displayed as part of spring home decor.
The appeal lies in their simplicity and versatility. You can customize the color of the yarn, add ribbons or pom-poms, and even incorporate scented oils into the glue mixture for a subtly fragrant basket. Because they’re lightweight and hollow once the balloon is removed, these baskets are perfect for children to carry during egg hunts without the risk of breaking or spilling contents.
Materials Needed to Make a String Easter Basket
Before diving into the crafting process, gather all necessary supplies. Most items are inexpensive and readily available at craft stores or around the house. Here’s what you’ll need:
- Round balloon (standard 11–12 inch size)
- White school glue or fabric glue
- Water
- Mixing bowl and spoon
- Yarn or embroidery floss (various colors optional)
- Scissors
- Cookie sheet or tray (to rest the balloon on)
- Plastic wrap or parchment paper (to protect surfaces)
- Ribbon or pipe cleaner (for the handle)
- Optional: glitter, food coloring, stickers, or paint for decoration
Using white school glue mixed with water creates a sticky solution that hardens as it dries, forming a rigid shell around the yarn. Embroidery floss works well because it’s thin and absorbs the glue evenly, but thicker yarn can be used for a more rustic look.
Step-by-Step Guide: How to Make String Easter Baskets
Follow these detailed steps to successfully create your own string Easter basket:
- Inflate the balloon to the desired size—usually about 10–12 inches in diameter. Tie it securely and place it on a cookie sheet lined with plastic wrap to prevent sticking.
- Prepare the glue mixture. In a mixing bowl, combine equal parts white school glue and water. For example, mix one cup of glue with one cup of water. Stir thoroughly until smooth. If desired, add a few drops of food coloring to tint the glue or sprinkle in some glitter for sparkle.
- Cut the yarn into manageable lengths—about 2 to 3 feet each. Longer strands are easier to work with when dipping and wrapping.
- Dip the yarn into the glue mixture, ensuring full coverage from end to end. Lift it out slowly, letting excess glue drip back into the bowl.
- Wrap the glue-coated yarn around the balloon. Begin near the knot and crisscross diagonally across the surface, leaving gaps between strands to allow light to pass through when dry. Avoid covering the very top (near the knot) so you can later attach a handle.
- Continue layering until the balloon has a dense web of yarn. Two to three layers are typically sufficient for strength. Be sure not to completely cover the base of the balloon where it touches the tray—this helps it dry evenly and makes removal easier.
- Let the basket dry completely. Place it in a warm, dry area away from dust. Drying time usually takes 24 to 48 hours depending on humidity and thickness of the glue layers.
- Poke a small hole and deflate the balloon. Once fully hardened, carefully pop the balloon with a pin and pull it out in pieces through the opening at the top.
- Add a handle. Cut a piece of ribbon, pipe cleaner, or sturdy yarn about 10–12 inches long. Attach both ends to the outside rim of the basket using hot glue or strong craft glue. Allow it to dry before use.
- Decorate as desired. Paint designs, glue on pom-poms, or tie bows to personalize your basket. Let any added embellishments dry before handling.
Tips and Tricks for Best Results
To ensure your DIY string Easter baskets turn out beautifully every time, consider these expert tips:
- Use fresh balloons: Old or weakened balloons may burst prematurely during drying, ruining the shape.
- Avoid over-saturating the yarn: Too much glue can cause dripping and prolong drying time. Squeeze gently between fingers after dipping.
- Work in a low-humidity environment: High moisture slows down drying and may lead to mold if left too long.
- Experiment with colors and textures: Mix different shades of yarn or alternate between smooth and fuzzy threads for visual interest.
- Create mini versions: Use smaller balloons or eggs to make tiny baskets ideal for desk decorations or gift toppers.
Common Mistakes to Avoid When Making String Easter Baskets
Even experienced crafters can run into issues. Here are some frequent problems and how to avoid them:
- Basket collapses after removing balloon: This usually happens due to insufficient glue layers or uneven coverage. Always apply at least two full layers and let dry completely.
- Yarn slips off the balloon: Make sure the balloon is clean and free of oils. Wipe it with rubbing alcohol before starting if needed.
- Glue takes too long to dry: Increase air circulation with a fan (not directly blowing) or place near a dehumidifier.
- Handle breaks off: Reinforce attachment points with extra glue or embed the ends slightly into the basket structure while still wet.
Educational and Developmental Benefits for Children
Beyond being festive, making string Easter baskets offers several developmental advantages for young children. The activity enhances fine motor skills through cutting, dipping, and wrapping motions. It introduces basic concepts of cause and effect (e.g., liquid glue becomes solid), symmetry, and spatial awareness. Additionally, following multi-step instructions supports cognitive development and focus.
Teachers and parents can extend the learning by discussing topics such as:
- The science of evaporation and drying
- Color theory when mixing dyes
- Patterning and design principles
- The cultural significance of Easter traditions
Variations and Creative Alternatives
While the classic balloon-and-yarn method is most common, there are many creative twists you can try:
- Netted string baskets: Use fishing line or nylon thread for a translucent, delicate effect.
- Scented baskets: Add lavender oil or vanilla extract to the glue mixture for a pleasant aroma.
- Glow-in-the-dark baskets: Mix phosphorescent powder into the glue or use glow-in-the-dark yarn.
- Edible string baskets: For a safe alternative for toddlers, use cooked spaghetti or pretzel sticks dipped in melted marshmallows instead of glue (though not durable long-term).
Storage and Longevity of Homemade String Baskets
Properly made string Easter baskets can last for several years if stored correctly. Keep them in a cool, dry place away from direct sunlight to prevent fading and brittleness. Store flat or hang by the handle to maintain shape. If dust accumulates, gently wipe with a dry cloth or soft brush.
Because they are made from biodegradable materials (glue, yarn, balloon), they aren’t meant to be permanent. However, with care, they can become cherished keepsakes reused annually during the Easter season.
Where to Use Your Handmade String Easter Baskets
These whimsical creations have numerous uses beyond holding candy eggs:
- Easter centerpiece: Fill with artificial flowers or moss for table décor.
- Gift container: Present small presents like jewelry, bath bombs, or tea sachets.
- Classroom activity: Organize a group crafting session at school or church.
- Fundraising item: Sell decorated baskets at spring fairs or bake sales.
- Photo prop: Use in family portraits or social media content for Easter themes.
Frequently Asked Questions (FAQs)
Can I use something other than a balloon?
Yes. Some people use round bowls lined with plastic wrap or silicone molds shaped like baskets. Just ensure the form can be easily removed once the structure hardens.
How long does it take to make a string Easter basket?
The active crafting time is about 30–45 minutes, but drying takes 24–48 hours. Plan ahead to start at least two days before Easter if using them for an event.
Are string Easter baskets safe for young children?
Yes, as long as non-toxic glue is used and small decorative elements like beads are avoided for kids under 3. Supervise closely during crafting to prevent accidental ingestion of materials.
Can I wash a string Easter basket?
No. These baskets are not waterproof. Exposure to moisture can soften the glue and weaken the structure. Clean only with a dry or slightly damp cloth.
What kind of yarn works best for string Easter baskets?
Lightweight cotton or acrylic yarn works well. Embroidery floss is ideal for finer detail and faster drying. Avoid oily or slippery synthetic fibers that don’t absorb glue effectively.





 浙公网安备
33010002000092号
浙公网安备
33010002000092号 浙B2-20120091-4